DIY Guide to Repairing Clothes with Patches: Extend Your Wardrobe's Life 2024

Are your favorite clothes showing signs of wear and tear? Don't toss them out just yet! Repairing and revitalizing your garments with patches is not only eco-friendly but also a trendy way to express your personal style. In this comprehensive DIY guide, we'll show you how to breathe new life into your wardrobe using patches, helping you save money and reduce waste. Discover the joy of transforming your clothes with a touch of creativity and sustainability!
Why Choose Patches for Clothing Repair?
Sustainability: In a world where fast fashion dominates, using patches to repair clothing is a statement of sustainability. It reduces textile waste and extends the lifespan of garments, aligning with eco-friendly practices.
Cost-Effective: Repairing clothes with patches is a budget-friendly alternative to buying new apparel. Patches are affordable and come in various designs, making them perfect for on-the-spot fixes or style upgrades.
Personalization: Patches offer a unique way to customize your clothing. Whether it’s a vintage band, a vibrant pattern, or a meaningful symbol, patches allow you to showcase your personality and creativity.
Step-by-Step Guide to Repairing Clothes with Patches
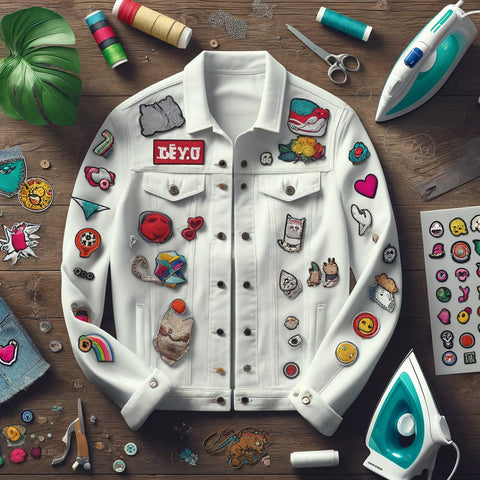
Materials Needed:
- Fabric patches (choose from a variety of designs at Paddy’s Patches)
- Iron and ironing board
- Sewing kit (optional for extra durability)
- Scissors
- Parchment paper
Choosing the Right Patch:
Select a patch that not only covers the damaged area but also complements the garment's design. Consider the fabric type and the weight of the patch to ensure a good fit and lasting repair.
Preparation:
- Clean the garment: Ensure the area around the tear is clean and dry.
- Trim any loose threads: This helps create a smooth surface for the patch.
Iron-On Patch Application:
- Position the patch: Place the patch over the damaged area. Use a ruler for alignment if necessary.
- Protect the fabric: Cover the patch with parchment paper to protect it from direct heat.
- Iron the patch: Set your iron to the recommended heat setting for the fabric. Press the iron down firmly over the parchment paper for about 30-60 seconds, then turn the garment inside out and repeat on the other side.
Sewing the Patch (Optional but recommended):
For materials like denim or for areas that undergo a lot of wear (like elbows or knees), sewing the edges of the patch can provide additional durability.
- Thread the needle: Choose a thread that matches the patch or the garment.
- Sew around the edges: Use a simple stitch to secure the patch all around its edges.
Tips for Successful Patch Repairs
- Test the heat setting: Always test your iron on a similar fabric to avoid burns.
- Choose complementary designs: Select patches that elevate the garment’s overall look.
- Reinforce with stitching: Even iron-on patches can benefit from a few stitches to secure them in place.
Conclusion: Revive and Personalize Your Wardrobe with Patches
Repairing clothes with patches is more than just a necessity; it’s a fun, creative, and sustainable fashion statement. Whether you’re fixing a tear or just adding some flair, patches provide a practical and stylish solution. Explore the wide range of patches at Paddy’s Patches, and start your DIY clothing repair project today!