Description
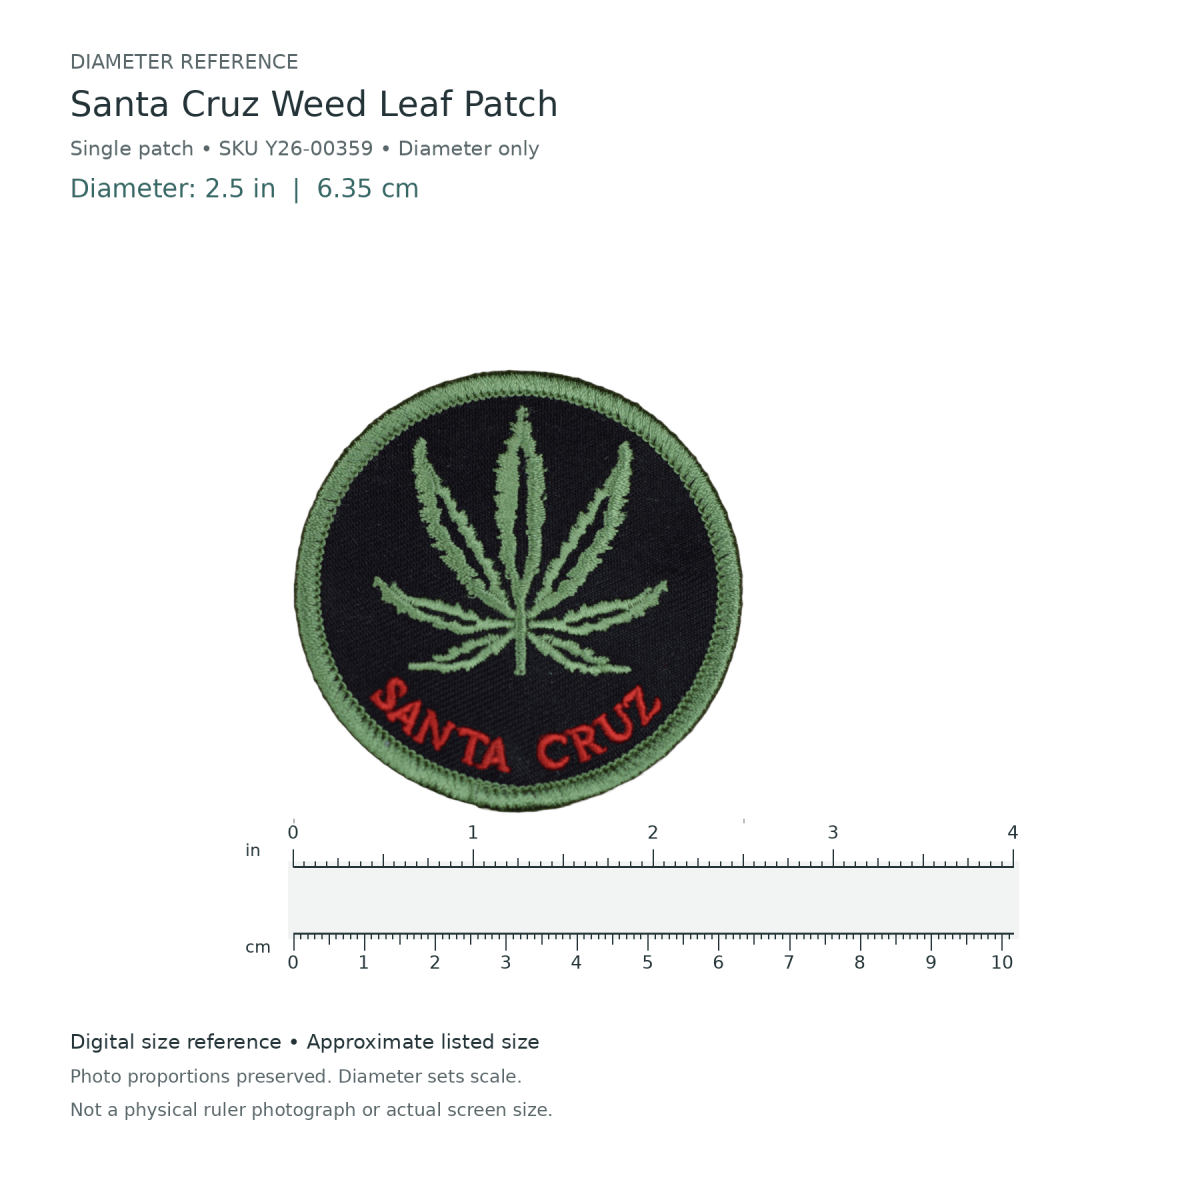
A circular Santa Cruz patch with a green cannabis leaf and red SANTA CRUZ lettering on black.
Every detail of the cannabis leaf and SANTA CRUZ lettering is captured in tight, vibrant embroidery, finished with a durable merrowed edge.
- Size: 2.5 inches (approx.)
- Backing: Iron-on (heat seal). Can also be sewn on.
- Material: Embroidered twill with merrowed edge
- Use it on: jackets, vests, backpacks
How to apply: Place patch on clean, dry fabric. Cover with a thin cloth and press with a hot iron for 30-45 seconds. Let cool completely. For heavy-use items, stitch around the edge after ironing.
Care: Wash inside-out in cold water, hang dry.
Can I put this patch on a hat or backpack?
Yes. Santa Cruz Weed Leaf works on hats, backpacks, tote bags, and jackets. For curved surfaces like caps, press firmly in sections and consider a few stitches to keep the edges flat.
Will this patch stay on after washing?
Yes, when applied correctly the heat-seal backing holds through regular washing. Wash the garment inside-out in cold water and hang dry to protect the embroidery. For gear that gets heavy use or frequent washing, stitching around the edge after ironing gives a permanent hold.
Can I sew this patch on instead of ironing?
Absolutely. Santa Cruz Weed Leaf has a merrowed edge that takes a needle cleanly, so hand or machine stitching works great. Many customers iron it in place first, then add a few stitches for a hold that never quits.
Application Guidelines for Iron-On Patches:
- Before applying the patch, set your iron to the maximum heat setting (cotton) and allow it to heat up for approximately 3 minutes.
- Test your fabric's heat tolerance at this setting by doing a single pass with the iron on the garment to avoid any damage to the fabric.
- Place the patch on the desired location, then cover it with a cotton cloth or Teflon sheet.
- Using the heated iron, press down firmly on the patch, especially on the edges, and hold for 30 seconds.
- Turn the garment inside-out, then use the heated iron to apply pressure to the back of the patch for another 30 seconds.
- Remove the iron and let the patch cool for approximately 5 minutes.
- For an even more secure hold, it is recommended to sew around the edges of the patch after ironing.
Please note that we cannot guarantee that the patch will adhere to all types of fabric.

Patch Care:
Patches can be washed GENTLY when attached to a garment. When machine washing, it is advisable to turn the garment inside out, secure or close any zippers, hooks, or other items that may snag the patch threads during washing. We recommend washing on the gentle cycle with cold water and allowing it to air dry. It is important to note that ironed-on patches may have loosened adhesive after machine washing. Therefore, we highly recommend sewing the patch or the corners of the patch if you choose to iron it on.